I would describe myself as an amateur photographer. I like traveling, and much of the reason why I like traveling is to see new places and take photos. I get a kick out of taking great photos in amazing locations.
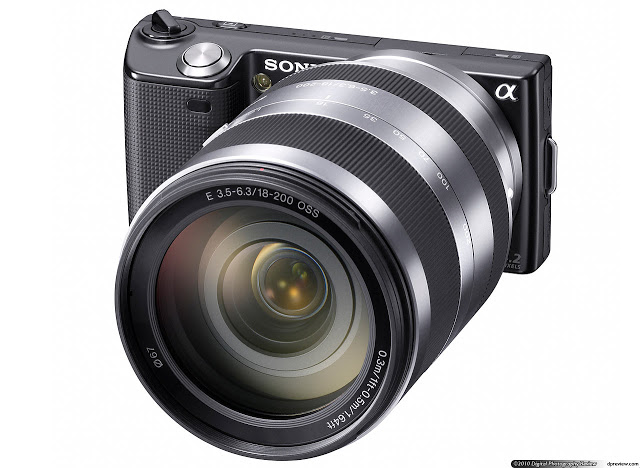
A few years ago my dad recommended a new camera to me: the Sony NEX-5. It packs a fully-featured DSLR into a body that is only slightly larger than a point-and-shoot camera. It has a great automatic mode that I use for most daylight photography, as well as a fully programmable manual mode. Since its purchase, it has been a constant companion on all the trips I've taken, spanning 4 continents and numerous countries. I've learnt that there is simply no substitute for a high quality camera and a good lens. Nowadays the NEX-5 has been superseded by newer models, but it keeps going strong for me.
There are a few basic factors at play when taking photos, and each one interacts with the others to determine how a shot turns out. As I learnt more about using the manual camera mode, I realised that these were not nearly as complicated as I'd first thought.
- Shutter speed: how long the lens of the camera stays open to take a picture. Typically measured in seconds: the longer the shutter speed, the longer the shot takes, and the more light enters the camera. Typical shutter speeds in daylight are fractions of a second; longer shutter speeds are commonly associated with "blurry" pictures due to the movement of the camera or the subject whilst the camera is capturing the shot.
- Aperture: how "open" the lens of the camera is when you take your picture. A smaller aperture corresponds to less light being let into the camera, and vice versa. This is measured in F-stops or F-numbers, and the basic rule of thumb is that the larger the F-stop, the smaller the aperture. Additionally, aperture affects the depth of field of the shot: how much horizontal distance in the image is in focus. Larger F-stops (smaller apertures) result in longer depths of field, meaning that objects at a wider range of distances can all be in focus at once.
-
ISO: how light-sensitive the camera is. This is roughly analogous to the varying numbers on rolls of film (anyone remember them? ISO 100/200/400?). The lower the number, the less light sensitive the shot; higher numbers result in more noise. A typical test for a good camera is to check the amount of noise present in pictures taken at a very high ISO value (e.g. 12800); less noise means a better camera. A particular challenge is night photography. The basic problem is that there is far less light available; and thus the camera must adjust its settings to compensate.
-
It can lengthen the shutter speed, which potentially risks a blurred or smeared shot if the camera or subject is moving
- It can open the aperture wider (smaller F-stop number), which will reduce the depth of field
- It can increase the ISO, which may increase the noise and graininess of the shot
In automatic mode, point and shoot cameras will typically try a combination of these, which combines their downsides. Hence, you get a shot like this:

Now, some situations are very difficult to take great shots at (e.g. rock concerts), but spectacular night portraits and landscapes can be taken with just a couple of tricks. The key is simple: use a tripod. This allows you to avoid the worst downsides (ISO too high, aperture too large), and control for the necessary ones (camera stability).
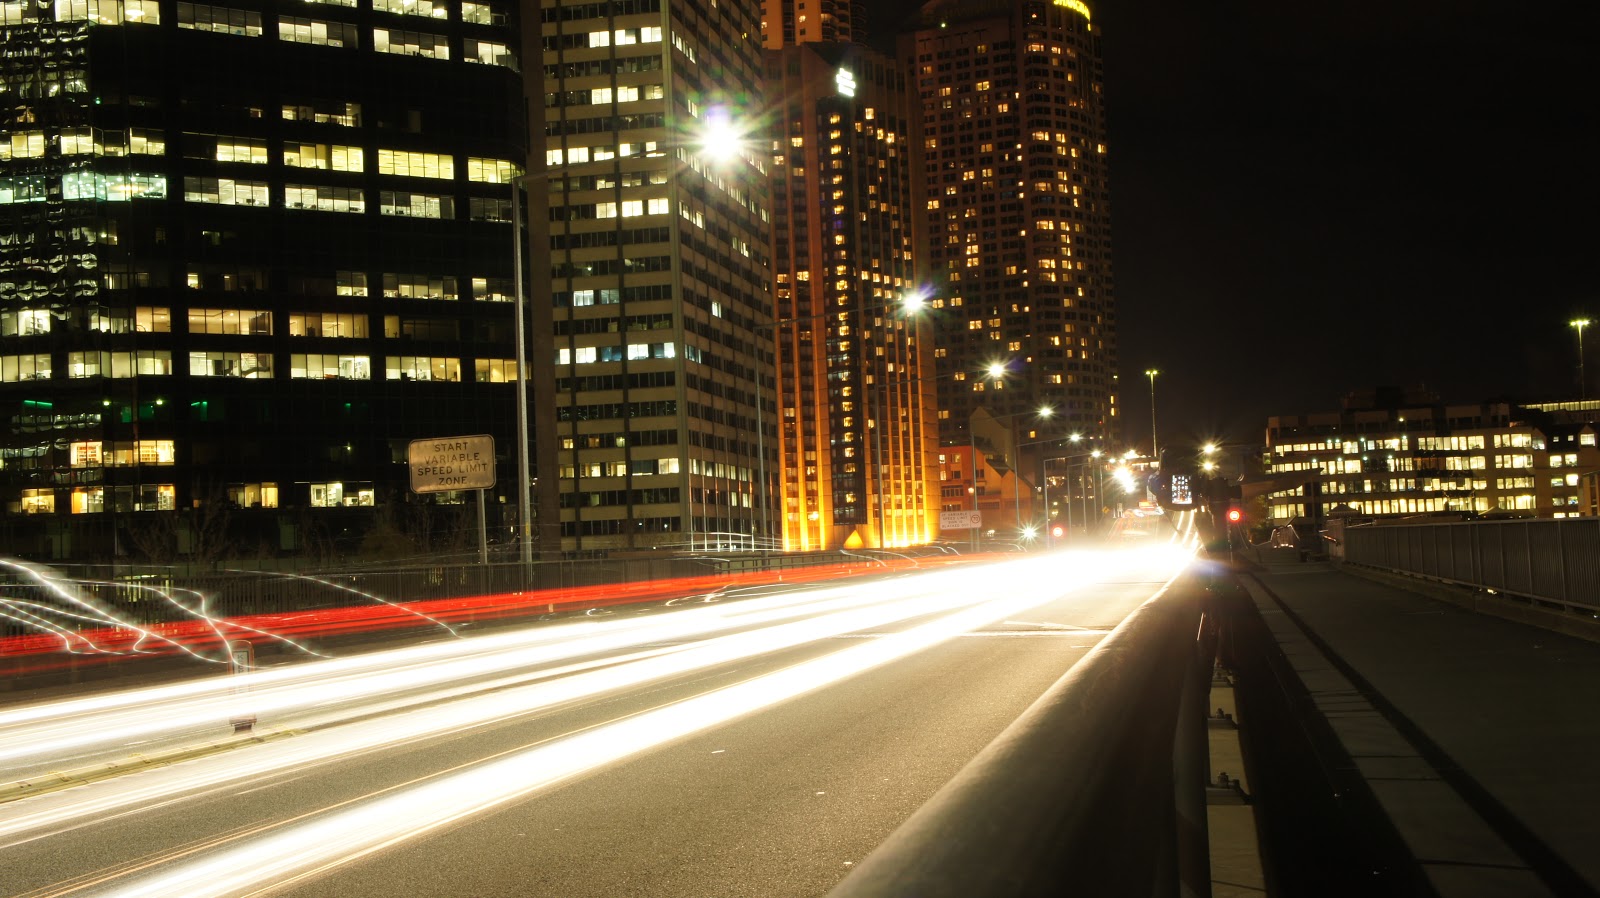
With your camera on a tripod, F16, ISO 200, and shutter speed of 25 seconds, you can take shots like this:

Much better! The tripod compensates for the long exposure time, whilst the ISO is set as low as possible to ensure minimum noise.
Long exposure times allow for some experimentation. The easiest thing to try is movement and light. The following shot was taken next to a busy expressway, with the same settings as above. Fast moving cars aren't picked up by the camera, but their headlights and taillights are:
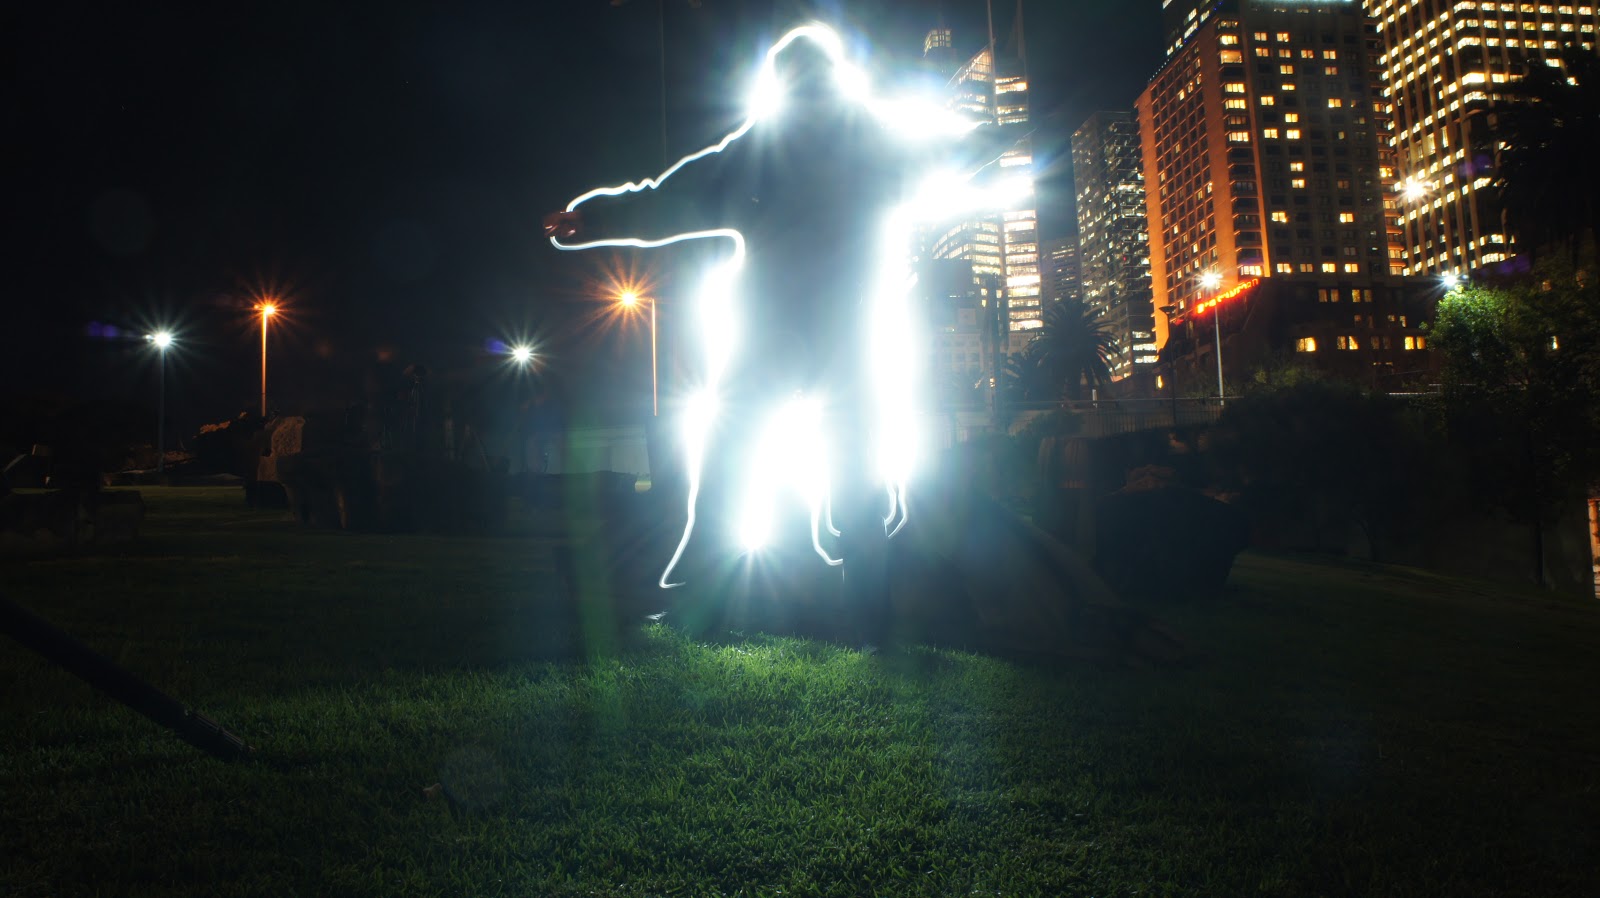
In this next shot, the subject is standing still whilst I run behind him, shining a torch around his outline and at the camera while the exposure is running. It takes some practice to get right, but the effect can be amazing.
Finally, a useful way of figuring out how to adjust your camera settings correctly in manual mode is to use the exposure value compensation (EV). In manual mode, your camera will display this number, e.g. the -0.7 here on the screen of my NEX-5.

This number is roughly what the camera thinks of the exposure of the current shot: positive numbers indicate overexposure, whilst negative numbers indicate underexposure. It will change depending on your shutter speed, aperture, and ISO settings, as well as the relative brightness of the subject. For night shots, I generally prefer this number to be as close to 0 as possible, and so I use it to help adjust the settings as necessary.
Hopefully this post has inspired some night time photography!